aurora borealis photoshop tutorial

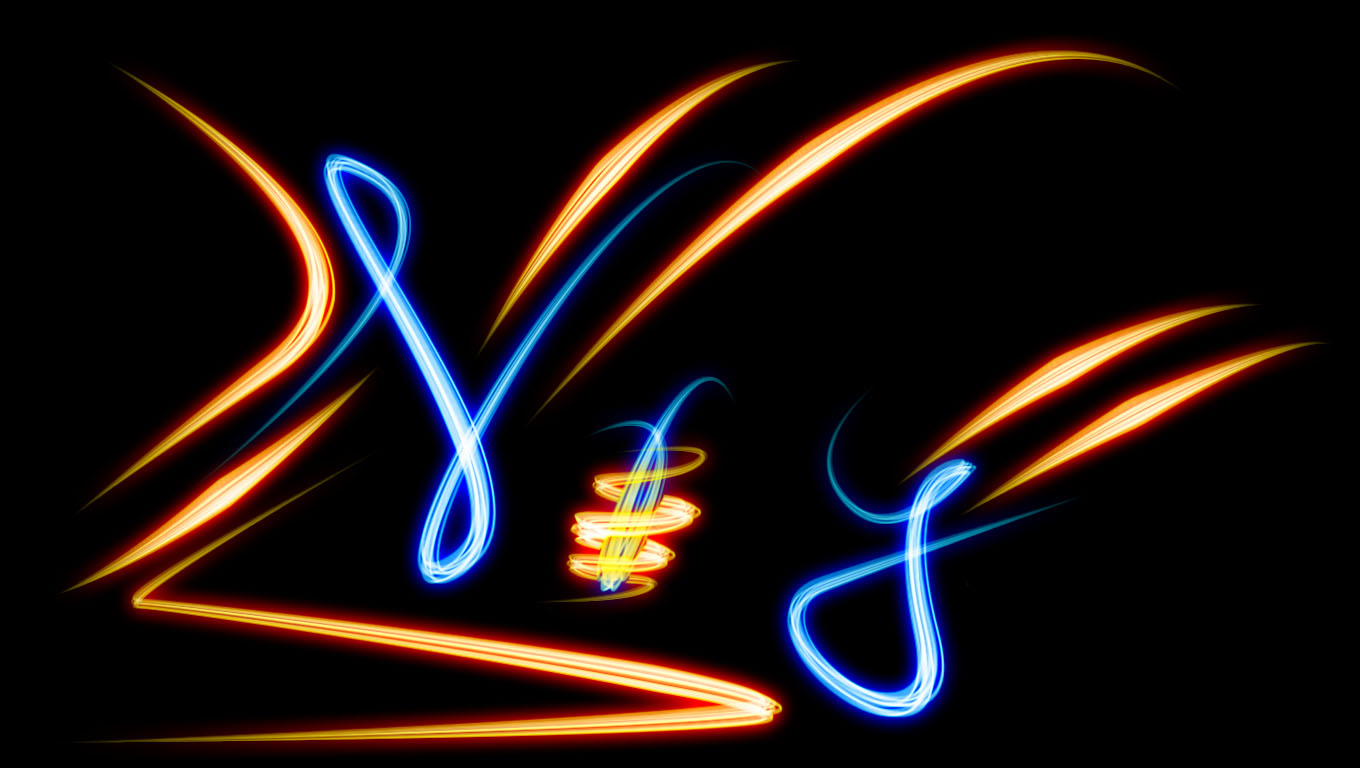
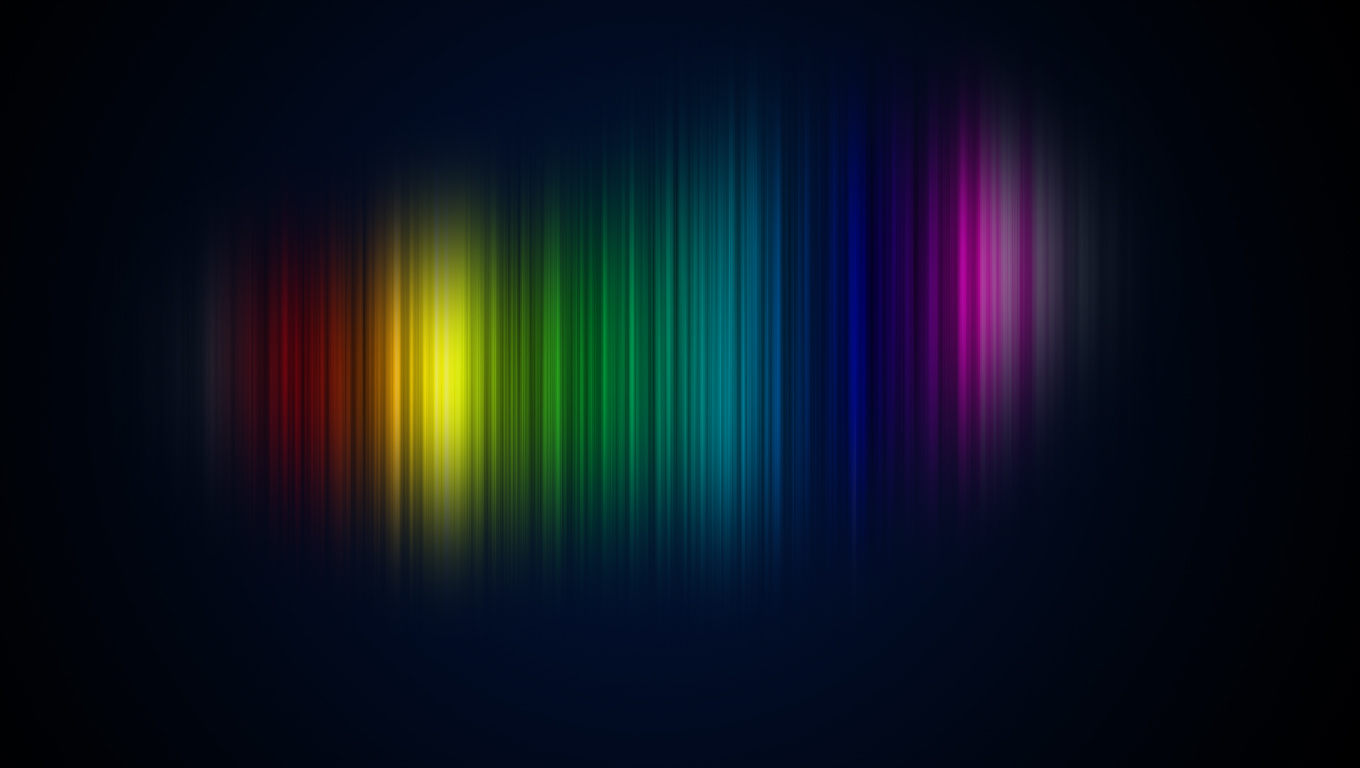
hello everyone , this is NRG and today i'm gonna show u a pretty simple but cool-looking effect which i call the aurora borealis effect , inspired by the aurora borealis , aka the northern lights found in the northern latritudes. here's what the effect looks like :-


Aurora borealis effect


so here's how i make it , step-by-step as always .

1. open photoshop , create a new file with whatever dimensions u want . i prefer 1360 x 768 .

2. fill the background with black , and create a new layer (ctrl+shift+N or layer -> new -> layer).
    fill the new layer with white .

3. go to layer -> layer style-> gradient overlay . settings :-
   
    blend mode = normal
    opacity = 100%
    click on the image of the gradient , and set blue as the starting color and black as the ending .
    style = radial
    angle = 90 degrees
    scale = whatever u feel okay , 120% worked for me.

    u should have a nice gradient now.

4. create a new layer , fill it with white .

5. make sure u have white as ur foreground and black as the background . then go to filter ->
    render -> fibers . use the following settings :-

    variance - between 10 to 30

    strength - between 10 to 20

6. go to filter -> blur -> motion blur . use the following settings :-

    angle = 90 degrees
    distance = 999
 
    u should have the base texture of the aurora ready .

7. select the over with the texture of the aurora , and put a gradient overlay on it ( go to layer ->
    layer style -> gradient overlay ) . settings :-

    blend mode = overlay
    opacity = 75%
    gradient = transparent rainbow (the second-last one)
    style = linear
    angle = 0 degrees
    increase the scale so that it covers the whole image . 112% worked for me .

8. so now we have to delete the part which we don't need . for this , select the lasso tool , set a
    feather value of more than 50 px , and create a wavy circular selection around the centre of
    the image . after doing this , u should have a nice and smooth wavy selection .

9. go to select -> inverse .

10. make sure u have the layer with the rainbow texture selected , and press delete on ur keyboard.
      u should have the aurora borealis effect now .


so that's it for today have a nice day and please visit again !


dark prince photoshop tutorial

hello everyone this is NRG , today i'm gonna show u a photoshop effect which i created myself , inspired by the cover picturee  from the 2006 game , Prince of Persia - The Two Thrones by Ubisoft . Try the game out , it's awesome ! Here's what the original game cover like , courtesy of wikipedia :-

cover picture


and here's what my picture looks like :-

Dark NRG


ya i know it's not perfectly like the dark prince , but it's pretty cool , isn't it ?

so here's the tutorial , step by step as always :-

1. first of all , open up photoshop and open ur picture in it .

2. open up the layers panel by pressing F7 if it isn't already open .

3. right click on the background layer , and click on duplicate layer . click ok .

4. set the blend mode of the new copied layer as soft light , using the drop - down box at the top left
    corner of the layers panel .

5. create a new layer (ctrl+shift+N) and set the blend mode to hue .

6. take the brush tool , and select a dark greyish blue or green as the foreground (i used #3d5b74) .
    paint over the skin areas of the picture carefully . the skin area should turn blue / green according
    to ur foreground color .

7. create a new layer , and set the blend mode to soft light .

8. right click on the thumbnail (the small picture on the left) of the previous layer (the one with the
    blend mode hue) , and click on select pixels . the blue / green colored parts should be selected.

9. click on the new layer (the soft light one) and select black as the foreground . select the brush tool ,
    and paint inside the selection , i.e, the skin area .

10. duplicate this layer . now you should have a " Dark prince" skin .

11. for the fire lines , read this :- http://nrgthelife.blogspot.in/2012/05/photoshop-neon-lines-text-effect.html
      just skip the brush creation part , and in the neon glow layer , set a yellow inner glow and a red
      outer glow . use a normal brush .  make some curly neon lines on the skin area  .

so now you should have an image which looks more or less like this :-


so that's it for today , have a nice day and visit again !

photoshop lomo effect tutorial

hello everyone this is NRG , today i'm gonna teach u guyz how to a lomo - like effect using photoshop . so first , lets open up photoshop and open a nice image . i'll be using this one :-


my photography at Andaman and Nicobar , India .


so let's do this step-by-step :-

1. select the lasso tool , and with a feather value of 60 / 70 / 80 / 90 pixels , create a selection around
    the main subject , in my case , the tree .

2. go to select -> inverse or press ctrl+shift+i to select inverse .

3. create a new layer (ctrl+shift+n or layer -> new -> layer) and fill the inverse selection with black .

4. set the opacity of this layer to 30 / 35 / 40 % , whatever u like . (30 % works for me) . to change
    opacity slide the opacity slider on top of the layers panel (press F7 to bring it up) .

5. select the background layer , and create a new curves layer ( click 4th icon on the bottom of layers
    panel and select curves , or go to layer -> new adjustment layer -> curves) .

6. set a graph like this one :-


lomo curve


   the colors will become a little bit changed .

7. now go to layer -> flatten image

8. create a new layer , fill it with black . set the blend mode as "hue" and opacity to 30 / 35 / 40 % . u
    can set the blend mode using the drop - down list beside the opacity slider .

9. layer -> flatten image . 

10. take the rectangular marquee tool . set the feather value at 1/12 of the image width . for example ,
      if ur image is 1080 pixels wide , then feather value should be 90 px . u can see the image size by
      going to image -> image size . select the whole of ur image using the marquee tool (do not use
      ctrl + a) .

11. select inverse by going to select -> inverse .

12. create a new layer , and fill the inverse selection with black . set the blend mode of this layer to
      overlay .

13. duplicate the previous layer . (layer -> duplicate layer)

14. flatten the image . (layer -> flatten image)

15 . now comes the good part . go to filter -> sharpen -> unsharp mask .

       amount = < 40% ,   I used 24 %
       radius = >50 pixels ,  I used 96 pixels
       threshold = 0 levels .

      now u have a nice and sharp image , with vignette effect around the edges . this is what my
      image looks like at this stage :-


almost done !


now at this stage , u have two choices . u can either leave it at here , or add a nice purple cast over ur image. i'm gonna show u how to do the purple cast , and what it looks like  .

16. create a new curves layer . (i have explained earlier how to make it)
      select the red channel from the drop down list , and set the curve like this :-


red channel curve


     select the green channel , and set the curve like this :-


green channel curve


     now select the blue channel , and set the curve like this :-

blue channel curve


so now my  picture looks like this :-


done !


so that's it for today have a nice day and please visit again !


photoshop Neon lines / text effect tutorial

okay so today i'm gonna teach u how to make neon lines / text using photoshop

so basically there are three steps for the neon lines effect , and two for the neon text . the first step is common to both :-

create a neon glow layer style .


     okay so i suppose that you have your background ready . it may be any picture or a black background . 
start off by following these step-by-step instructions :-
  1. create a new layer (ctrl+shift+n or go to layer -> new -> layer)
  2. give an inner glow effect to this new layer . (layer -> layer style -> inner glow or the fx button on layers window) . settings for the inner glow :-
          blend mode = hard light
          opacity = 100 %
          color = any colour , just keep it light . i use #00b4ff a lot .
          size = between 10 to 40 px , depending upon the brush / font size which we will set later .
        3.  give an outer glow in the same manner , just select a darker shade of the colour used in the previously
             i'd select #002aff .
      
    ok so now our neon glow layer style has been created .u can change the color of the neon by changing the color of the inner glow and outer glow .

    so now if u r going for neon text , just write ur text using the text tool , using any font and remember to keep
    the text color white . 

    now , for neon lines , the next step will be :-


    create a nice brush style


     U can use a normal round brush . but if u want something cooler , just follow these instructions :-

    1. select the assorted brushes . (select the brush tool , click the little arrow next to the brush preset , then
        the little arrow pointing towards the right . click on assorted brushes .
    2. select the brush named "texture 4" . (rightmost one on the second-last row)
    3. press F5 or go to window -> brushes
    4. in brush tip shape , set spacing to 1%
    5. select shape dynamics (put a tick in the box beside it) .  select pen pressure in control .
    6. Unselect smoothing .
    7. now under " brush prestes " , set master diameter of your choice . for image size of 1360 x 768 , i would
        set master diameter between 50 and 60 px .

    ok so now we have our brush ready . now we shall move on to the third step , which is :-


    create a path for the neon lines


    for this , u need the pen tool . this step is pretty easy , follow these instructions :-

    1. select the pen tool  (keyboard shortcut - P )
    2. on top right corner , but below the manu bar , at the right side of the icon of the pen tool , there are three
        icons - shape layers , paths and fill pixels . select paths (the second icon) 
    3. click on the image to set the first point . make sure that the layer with the glow effects is selected .
    4. click again to set the next point , hold down the mouse button , and drag it sideways to make it wavy 
        and smooth .
    5. continue this as long as u want , until u get a nice path . u can ctrl+click on the points and move them in
        any way u want .
    6. now select the paths panel . (go to window -> paths , or select "paths" on top of the layers panel)
    7. u should see a work path . right click on it . select stroke path.
    8. select "brush" and select "simulate pressure" . u should have ur neon lines ready . 


    some samples , which i made myself  :-

    name logo


    Neon NRG


    super NRG !


    well that's it for today , have a nice day and please visit again !

    First post : Photoshop flaming text tutorial

    hmm so as i said , my life consists of mainly Photoshop , Java  , Hacking and music . this post is about what is the most abundant in my life , i.e , Photoshop .

    So this is a Photoshop tutorial for creating a cool flaming text effect 

    so first of all create a new document , whatever size you want . personally , i prefer 1360 x 768 

    so let me get this step by step :-

    1) get a black background

    2) write whatever u wanna write in any font u like

    3) layer -> rasterize -> type

    4) layer -> merge down

    5) image -> image rotation -> 90º CW

    6) filter -> wind 
                     select wind , from the left .

    7) crtl+f to apply the same filter 1/2/34/5 times again depending upon the font size

    8) image -> image rotation -> 90º CCW

    9) filter -> liquify
                    select the forward warp tool (the first one from the top)
                    brush size = 100
                    brush density = 50
                    brush pressure = 70
                    make the pointy ends curled and flaming
                    click ok when u r done

    10) image -> mode -> grayscale (don't bother about the confirmation message , just press discard)

    11) image -> mode -> indexed color

    12) image -> mode -> color table
                    set black body as the table
                    click ok 

    13) image -> mode -> RGB color

    so we are more or less done here . for a sample , here's one i made :-

    Flamin' NRG


    and yeah , what if u wanna make flames of some different colours ?

    here's what you do:-

    14) image -> adjustment -> Hue/saturation
                     it's pretty self-explanatory , just slide the sliders . 
                     and yeah , if you select colorize , then dont forget to set the saturation to 100
                     click ok (duh !)

    a sample of a coloured flaming design :-

    Green flamin' NRG


    so that's it thank you for visiting my blog , please visit again !


    have a good day !